Sunday 28 April 2013

White Chocolate and Strawberry Cake


This cake is not what I expected it to be.
All the components individually were wonderful.  The white chocolate Swiss Meringue Buttercream, the soft but dense vanilla sponge, the layer of fresh strawberries and jam.
Everything tasted delicious and it was very well received by family and friends who were suitably impressed.
But for some reason I didn’t like the whole once the components were put together.  I thought this flavour combination is a classic and works very well – but maybe I didn’t get to experience it at its best as by the time I tasted it, it was a couple of days old and straight from the fridge.
What I did discover was that I very much enjoyed the process of making a layer cake, although, with full-time work in the office, it did take me two whole days to make this.
I made the vanilla cake first and this really is a firm favourite that I have made numerous times since I discovered it almost a year ago on this youtube channel.  I then refrigerated it overnight and made the butter cream the next day and put it all together.
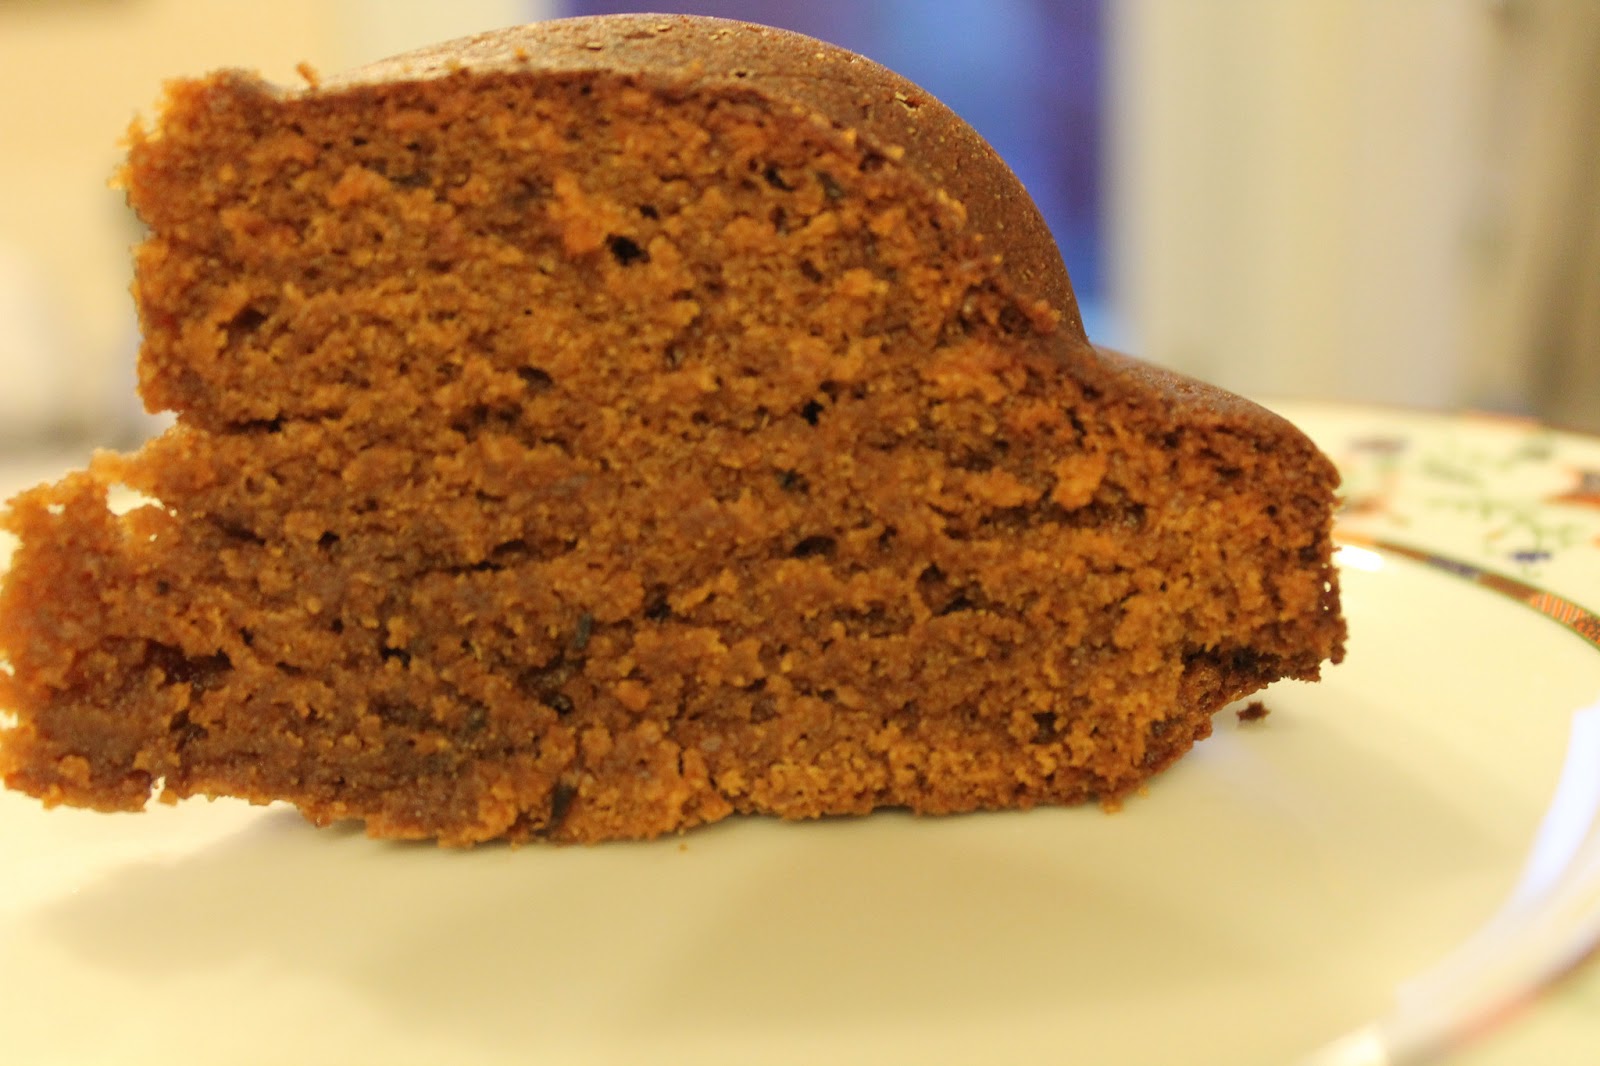
I haven’t made a layer cake in a while.  They’re not really what I enjoy about baking.  Or so I thought.
The construction, so to speak, was what I liked – the building, layering, plastering on buttercream and lastly, the decorating.
While I do love my more ‘rustic’ cakes and while I still believe most cakes really don’t need an icing or topping to be enjoyed, once in a while making the more fancy cakes can be very satisfying indeed.
White Chocolate and Strawberry Cake
This makes a very soft, springy cake, with a lovely dense, but light texture, tight crumb and great taste.  Its great for carving as it doesn't crumble but for some reason it doesn't translate very well to the more normal sized cupcakes - although the cake was good with a great taste, the top of the cupcakes almost caramelised and darkened considerably.  However, it definitely is a great recipe for layered cakes and stacking cakes.  It also keeps very well in the fridge (kept for a week in clingfilm and was completely like new) and suspect that it will also freeze well.  
Vanilla Sponge Cake:
·         4 eggs
·         400g sugar
·         1 tsp vanilla paste
·         250ml milk
·         115g butter, melted
·         300g plain flour
·         2tsp baking powder
·         ¼ tsp salt

Preheat oven to 180C Gas4 and prepare two 8" cake tins.
Whip the eggs in a stand mixer for at least 5 minutes to make them light and fluffy and very aerated.
Gradually add the sugar in small amounts so as not to deflate the eggs by adding too much 'weight'.
Combine the flour, baking powder and salt and gradually add this to the mixture to make a batter.
Melt the butter and milk in a bowl then take some of the batter and mix it with the butter/milk.  This will create a 'liaison', making the liquid a little thicker before adding it to the batter - if you just add the liquid straight to the batter mixture it will thin the batter down too much.  This way the batter will keep its thickness and lightness.
Pour into the two cake tins and bake until light and springy to the touch. 


White Chocolate Swiss Meringue Buttercream

·         1 batch Swiss Meringue Buttercream (from this recipe)

·         100ml double or single cream

·         150g white chocolate, broken into very small pieces

Make up the batch of buttercream as shown in this previous post. 
Heat up the cream on medium heat, making sure not to scald it. Pour on top of the white chocolate pieces and leave alone for about a minute to let the hot cream melt the white chocolate.
Mix the cream and chocolate together well to make a white chocolate ganache and allow it to cool.
Add in gradually to the batch of buttercream and mix in thoroughly after each addition.  Taste as you go along and you might decide not to use all of the white chocolate ganache.

Assembly
Take about half the contents of the jam jar and heat a little in the microwave so that it becomes a little easier to spread.
Slice about half the punnet of strawberries fairly thinly (thick pieces will make the cake you place on top more liable to move around), making sure you’ve kept aside the visually best looking ones for the decoration on top.  I kept the ones that had the most obvious strawberry shape and that were roughly the same size.
Once the cakes have cooled down completely, take one and ice it completely on top with the buttercream.  Leave the sides of the cake free of buttercream for now.  I always use the cake that looks slightly thicker to me as the bottom one.
Place the strawberries on top of the iced cake, trying to fit them in on every available surface but also trying not to make them overlap.  Cut them up further if needed.
Take some softened jam on a spoon and carefully spread over the strawberries making sure to not dislodge them.
Place the second cake on top and carefully align.  Ice the whole of the cake completely.
Take the strawberries you have set aside for the top and slice each of them thinly, starting from the stalk end but not quite reaching the bottom.  In this way you should be able to fan them open.  Place evenly on top of the cake and add some strategically placed silver dragees.
 

Sunday 14 April 2013

Brownies by Baked Bakery NY


I’ve recently gone on a bit of a brownie craze.
For some reason I’ve started researching brownie recipes from anywhere I can get a hold of them – books, online, magazines, friends/family – and started making tables of ingredients and a list of those which I want to try.  So far I have 20 in my ‘to bake’ list.  I’m not really sure why I’ve begun this but I think it’s partly to do with the fact that I’m looking for a particular taste.  Or maybe a particular sensation.
It’s that intense chocolately hit delivered in a dense and moist morsel.  I think this is my ideal of how a brownie should taste like is, and that is what I’m hoping to find in these recipes I’ve collated. 
I had to make these first as I’d heard so much about them online.  They were really hyped as being one of the best brownies out there and it was also an opportunity to bake something from the book Baked: New Frontiers in Baking by Matt Lewis and Renato Poliafito.  A book I’ve had for quite a while but haven’t baked anything from yet.
I would definitely classify these as a more cakey brownie.  The crumb is moist, dense and squidgy but not so much as to be labelled fudgy and certainly not gooey.  It’s not ‘heavy’ as such, but still satisfies any chocolate craving you might have.   It cuts very well, even when slightly warm and the top developed a nice, thin but crisp crust. 
The recipe specifies to add a tsp of instant espresso powder.  I feel that when the use of coffee in a chocolate dessert is there for the purposes of enhancing the chocolate flavour then that is solely what it should do – enhance the chocolatiness and not impart any obvious flavour of its own.  The amount of coffee flavour here unfortunately does more than play the role of intensifying the chocolate taste.  It comes through strongly enough to be classed as a flavour on its own.  I personally feel that this detracts from the enjoyment of consuming the brownie, which should be rich, dense and full of deep dark chocolate flavour. 
Although I receive a good hit of chocolate, there’s definitely a hint of a mocha vibe going on which I’m not too keen on.  I would decrease the amount of espresso flavour down to at least ½ tsp to see if it is needed.  Apart from that it is a very good brownie which delivers on chocolate taste, denseness and richness with a lovely crisp crust.  I baked them for 25 minutes rather than the specified 30, and am glad I did – I think very slightly under baking them saves the texture from being too cakey and ‘done’.


The Baked Brownie
·         190g/1 ¼ cups plain flour
·         1 tsp salt
·         2 tbsp cocoa powder
·         310g/11oz dark chocolate (60-70% cacao), coarsely chopped
·         225g/1 cup unsalted butter
·         1tsp instant espresso powder
·         300g/1 ½ cups granulated sugar
·         100g/½ cup light brown sugar
·         5 eggs, room temperature
·         2 tsp vanilla extract

Preheat oven to 180C, prepare a 9”x13” baking tin.
Combine the flour, salt and cocoa powder together in a medium bowl.  Melt the chocolate, butter and instant espresso powder on a bain marie (double boiler) until the chocolate and butter are completely melted.
Turn the heat off and add the sugars while the bowl is still sitting on the hot water and whisk until well combined.  Take the bowl from the heat and leave until room temperature before adding in the 3 eggs.  Add in the vanilla and whisk until well combined but don’t overmix at this stage.
Fold the flour mixture into the chocolate mixture with a spatula until just a wee bit of flour mixture can be seen.
Smooth the batter into the baking tin and bake for 30 minutes, rotating the tin halfway through the baking time.  Do not exceed 30 minutes.
Slice when cooled down.
 

Sunday 7 April 2013

Brown Sugar and Vanilla Bean Cake


Have you ever thought of what your top ten favourite ingredients are?
You know, the ones which you unconsciously stock up on whenever you go out, the ones which you naturally turn to when looking for something to bake, the ones which you bookmark with sticky notes when trawling through a new baking book.   
The ones which stop you in your tracks whenever you are browsing through numerous recipes online.
I’ve always known what I like and what I turn to but didn’t really think to list and plot them down as such.
However, I was recently trawling through amazon’s website for baking books that might look interesting and I came across a book called Baked Elements: the Importance of Being Baked in 10 Favourite Ingredients.  I’ve got the first book by Matt Lewis and Renato Poliafito and unfortunately have not really used it that much despite book marking a few recipes.  Something that I obviously need to rectify soon. But in this third book of theirs, they use the concept of taking their top ten favourite ingredients and making recipes around them.  I think something in my head went Kaching!
I didn’t buy the book because I will need to try out a few recipes from their first book before I do that, but the idea I readily latched on to and set about devising a top ten list of my own.  I kid you not; it took me less than two minutes.  So here it is:

1.   Vanilla Pods/Paste

2.   Cinnamon

3.   Brown Sugar

4.   Spelt Flour

5.   Greek Yoghurt

6.   Lemons

7.   Oil

8.   Cocoa Powder

9.   Yeast

10. Tea

11.  Pears

12. Dark Chocolate

13. Honey

I know, I know there are thirteen here, but I was simply and quickly writing down what I love to work with and didn’t notice at all that the designated number had been exceeded. 
These are in no particular order – in general I like to work with tea just as much as I like to work with vanilla pods or paste.  It’s just that sometimes I have more of a fixation on one ingredient and will use it a lot more than the others, but this fixation will eventually fade and I’ll begin to concentrate on another ingredient more.  It’s a kind of ebb and flow of fixations but the ingredients concerned are always the ones listed.
These favourites are specifically for the sweet baking I do.  I think I would have a completely different list for savoury cooking (a lot more spices for one thing!) or even savoury baking such as bread.  For instance, whereas I’ll always choose lemons in my sweet baking, I absolutely love limes in my savoury cooking.
This cake I made managed to use at least three of my favourite ingredients; brown sugar, spelt flour, oil and vanilla pod and paste (technically four ingredients). 
It’s beautifully rich, soft and delicious.  Although I loved the taste of the dark brown sugar in it, it was quite an apparent and obvious taste.  I think for a lot of people, using soft light brown sugar instead would be preferable.

Brown Sugar and Vanilla Bean Cake

·         250g soft dark brown sugar
·         1 egg
·         1tsp vanilla bean paste
·         160ml milk, full fat
·         190g spelt flour
·         1 tsp baking powder
·         1 vanilla pod, dried in oven and grinded down
·         113g oil

Preheat oven to 180C, prepare a 8” round cake tin.
Beat the sugar, egg, vanilla paste and milk together.
Combine the flour and baking powder together and add to the wet ingredients.  Follow with the pulverised vanilla pod.
Lastly, add the oil and mix in well – make sure the oil is well mixed in and does not separate from the batter.
Pour into the tin and bake for 35 minutes then place a foil cap on top and bake for a further 20 minutes (although start checking sooner than this as your oven might be slightly hotter)