Showing posts with label Spelt Flour. Show all posts

Sunday, 7 April 2013

Brown Sugar and Vanilla Bean Cake


Have you ever thought of what your top ten favourite ingredients are?
You know, the ones which you unconsciously stock up on whenever you go out, the ones which you naturally turn to when looking for something to bake, the ones which you bookmark with sticky notes when trawling through a new baking book.   
The ones which stop you in your tracks whenever you are browsing through numerous recipes online.
I’ve always known what I like and what I turn to but didn’t really think to list and plot them down as such.
However, I was recently trawling through amazon’s website for baking books that might look interesting and I came across a book called Baked Elements: the Importance of Being Baked in 10 Favourite Ingredients.  I’ve got the first book by Matt Lewis and Renato Poliafito and unfortunately have not really used it that much despite book marking a few recipes.  Something that I obviously need to rectify soon. But in this third book of theirs, they use the concept of taking their top ten favourite ingredients and making recipes around them.  I think something in my head went Kaching!
I didn’t buy the book because I will need to try out a few recipes from their first book before I do that, but the idea I readily latched on to and set about devising a top ten list of my own.  I kid you not; it took me less than two minutes.  So here it is:

1.   Vanilla Pods/Paste

2.   Cinnamon

3.   Brown Sugar

4.   Spelt Flour

5.   Greek Yoghurt

6.   Lemons

7.   Oil

8.   Cocoa Powder

9.   Yeast

10. Tea

11.  Pears

12. Dark Chocolate

13. Honey

I know, I know there are thirteen here, but I was simply and quickly writing down what I love to work with and didn’t notice at all that the designated number had been exceeded. 
These are in no particular order – in general I like to work with tea just as much as I like to work with vanilla pods or paste.  It’s just that sometimes I have more of a fixation on one ingredient and will use it a lot more than the others, but this fixation will eventually fade and I’ll begin to concentrate on another ingredient more.  It’s a kind of ebb and flow of fixations but the ingredients concerned are always the ones listed.
These favourites are specifically for the sweet baking I do.  I think I would have a completely different list for savoury cooking (a lot more spices for one thing!) or even savoury baking such as bread.  For instance, whereas I’ll always choose lemons in my sweet baking, I absolutely love limes in my savoury cooking.
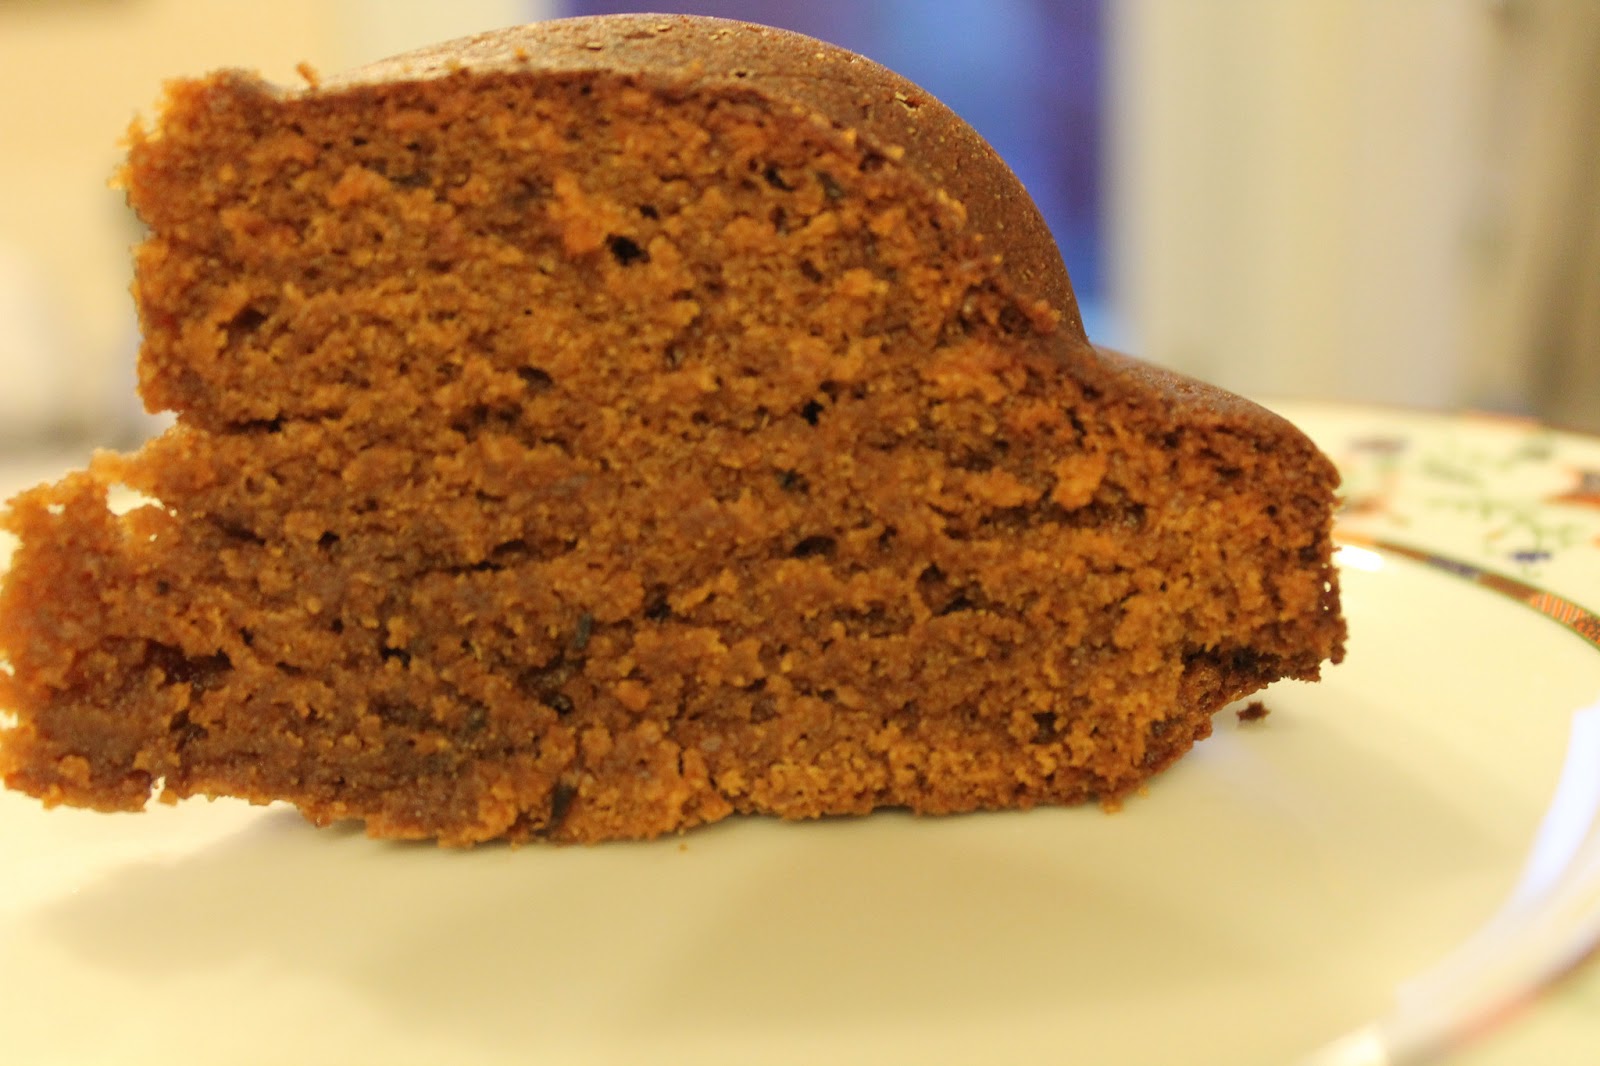
This cake I made managed to use at least three of my favourite ingredients; brown sugar, spelt flour, oil and vanilla pod and paste (technically four ingredients). 
It’s beautifully rich, soft and delicious.  Although I loved the taste of the dark brown sugar in it, it was quite an apparent and obvious taste.  I think for a lot of people, using soft light brown sugar instead would be preferable.

Brown Sugar and Vanilla Bean Cake

·         250g soft dark brown sugar
·         1 egg
·         1tsp vanilla bean paste
·         160ml milk, full fat
·         190g spelt flour
·         1 tsp baking powder
·         1 vanilla pod, dried in oven and grinded down
·         113g oil

Preheat oven to 180C, prepare a 8” round cake tin.
Beat the sugar, egg, vanilla paste and milk together.
Combine the flour and baking powder together and add to the wet ingredients.  Follow with the pulverised vanilla pod.
Lastly, add the oil and mix in well – make sure the oil is well mixed in and does not separate from the batter.
Pour into the tin and bake for 35 minutes then place a foil cap on top and bake for a further 20 minutes (although start checking sooner than this as your oven might be slightly hotter)

Sunday, 10 February 2013

Spelt and Formosa Oolong Bread


This is a very simple bread to make.  I mentioned before that bread is a great medium to try out flavour combinations in.  This is because once you have the basic recipe for bread (800g loaf) which is:
·         500g bread flour
·         5g fast action dried yeast (1 tsp)
·         10g salt
·         300ml water
You can experiment to your heart’s content.  As long as the basic percentage (known as the baker’s percentage) is stuck to you can begin to infuse all kinds of flavours and ingredients.
For instance the 300ml of water I used in this recipe was brewed with Formosa Oolong tea leaves and left to cool until it was lukewarm before being added to the recipe. The 300ml of water required is basically 300ml of any liquid (except oils or fats) so you can add in tea, coffee, juice, milk, yoghurt etc.  As long as the quantity is for the most part kept to the recipe should work (although some bakers increase the liquid amount ever so slightly for a stickier dough and therefore softer crumb).
For the flour I used 300g wholegrain spelt and 200g strong white flour to make up the 500g of flour required.  Again you can use most bread flours, as long as the quantity is made up.  However, not all flours will act in the same manner, such as rye, which doesn’t really rise up in the proving stage the way strong bread flour does and gives a denser, but still very tasty, bread.
The more I work with bread the more and more I’m enjoying it immensely.  I say this because I’ve been in the routine for a while now producing bread weekly for family consumption.  I’ve even started my own sourdough starter which is something I had been thinking of doing for a very long time but was afraid of the commitment.  Because it is a big commitment.  At least it is from what I’ve read about cultivating one anyway.
I decided in investing in Bread (River Cottage Handbook No.3) by Daniel Stevens.  Actually I bought the whole River Cottage Handbook set (there’s ten books altogether) which I managed to get my hands on at a bargain price.  The first book I went for was Bread (I’ve not gone through the others yet) and it’s highly recommended.
The author’s writing style is very easy to follow, he doesn’t use any confusing or unfamiliar jargon and any he does use is fully introduced to the reader first.  His explanations on mixing, kneading, shaping etc is excellent and for someone like me, who has made bread before but is basically self-taught, so much fell into place and things just made a lot more sense.  Much of the information I’ve reiterated above is from this book.  You do feel like you are getting a personal tutorial from Stevens as he calmly walks you through how to bake good bread.
It is because of this book that I took the plunge to start my sourdough starter.  He didn’t make it seem as daunting as having a child to look after although he didn’t gloss over the fact that it is still a commitment to start as once it has begun then it will need to be ‘fed’ regularly.  He did mention ways of slowing the fermentation so that the feedings don’t have to be so often.  This is done by increasing the flour ratio until it becomes a dough (this type of pre-ferment is called a levain) and also keeping it in the fridge or even doing both.  If you have to go away for a while or you can’t keep up with the feedings for whatever reason, you can always freeze it for a while.
All this information was very useful to know and the encouragement I needed to get started.  At the time of writing it’s been about 20 hours with no signs of activity from my starter although this isn’t unusual.  It’s silly but I’m so excited about my new starter.  I really do feel like it’s something that is my own and I will need to care for and nurture, although I will draw the line at talking to it.  In public that is.
The one thing that I have stuck to from the very start of my baking bread is starting the dough at night.  I just find it easier to make the dough at night-time and leave it in the fridge to prove slowly overnight.  I’m pretty sure I watched that on a TV programme once and have done it ever since for convenience sake.  It means that when you get up in the morning you can knock-back the dough, shape it, leave it to prove for an hour, and then place it in the oven.  Although you won’t get your bread first thing in the morning, you will get it in the morning rather than the afternoon.
The flavour of spelt in bread is really showcased unlike in cake where it is masked to some extent by the amount of sugar and other ingredients.  This bread had a beautiful rounded nutty flavour that was infused with a mellow smokiness.  I thought the mild smokiness must have come from the oolong tea although it doesn’t quite taste like that when brewed, more between a black tea and a green tea but not as harsh as the former nor as ‘green’ as the latter.  However, I wasn’t sure if it was coming from the tea or the spelt or a combination of both.  So I set out to make this again replacing the spelt with wholemeal flour and leaving the oolong tea in the recipe.
Wholemeal Version
I used fresh yeast for the first time in the wholemeal version (made with 200g strong wholemeal and 300g strong white flour), and except for the crust, which was slightly thicker and chewier than I prefer, the crumb was incredibly soft and tasty.   
Wholemeal Version
The smoky taste was there but more muted in the wholemeal version, although this too worked very well with the oolong tea. 
The combination of the spelt flour and oolong brings almost dusky-smoky-nutty notes to the bread.  The complexity, such few and simple ingredients can achieve in bread baking, is simply fascinating.  I have been making this, in variations of spelt flour and strong wholemeal, constantly for the past few weeks as the perfect morning bread for toast.

Spelt and Formosa Oolong Bread

·         300g spelt flour
·         200g strong white bread flour
·         5g fast action dried yeast
·         10g salt
·         300ml Formosa oolong tea

Begin to make your dough at night.  In a large bowl, mix the ingredients together into a dough form.  Tip the dough out onto a floured or oiled (either/or not both) work surface and knead for at least 10 minutes until the dough is elastic and smooth.  You will feel the texture changing and the dough becoming easier (and more pleasurable) to work with.
Knead the dough into a round shape and place it into an oiled bowl (just scrape clean the one you mixed the ingredients in).  Cover it with a damp tea towel or with loose clingfilm (Stevens recommends covering it with a black bin liner) and leave it in the fridge to rise slowly overnight.
In the morning, take it out of the bowl and knock back the dough to diffuse it slightly.  Knead into your desired shape by bringing the outer edges into the middle and always placing the bread to prove seam side down.  Cover with clingfilm and leave in a warm place for its final proving, about an hour (it should rise to, almost but not quite, double its size).  Wet the top of the dough with some water (use a pastry brush or your fingers) and sprinkle or push on some sunflower seeds.  Slash the top of the dough with a very sharp serrated knife (I always forget to do this!).
Preheat the oven to 250C with a baking sheet inside.  When you are ready to place the dough into the oven, take the baking sheet from the oven and close the oven immediately to retain heat inside.  Generously sprinkle some flour (plain flour will do) on the baking sheet and place the dough on top of this.  Sprinkle some flour on top of the dough (and/or seeds of choice - I used some sunflower seeds on the spelt and some sesame on the wholemeal) and place it into the oven.  Bake for about 20 minutes at the high temperature then lower the heat to about 200C and bake for another 30 minutes.  In total my bread took about 55 minutes in the oven.  Err on the side of over baking rather than under baking with bread.

Saturday, 2 February 2013

Dundee Cake – Alcohol Free Fruitcake


I wanted this to be the first recipe of my blog.  Back when I was thinking of starting one, I had numerous ideas about which cake recipe I was going to make for my first post.  Extravagant layer cakes were the first option as they had the showstopper appeal.  Then I thought about this Dundee cake as it would be a homage to my city.  I also like fruitcake more than most people.  In the end I decided on my Date, Orange and Pumpkin cake as my first post because those were the ingredients I had at the time and that pretty much describes how I bake most of the time – with what I have to hand, with what is seasonal and with what is easy to acquire for me.  It was also an own recipe and felt it would show how I liked to work with ingredients.
I didn’t forget about the Dundee Cake though and when one of my sister-in-laws requested fruitcake once more (her favourite type of cake) I felt it was the perfect time to make this.
This is the River Cottage recipe I found online and one I felt most comfortable with.  I did of course modify it somewhat – I didn’t have any ground almonds so substituted 100g of spelt flour for 125g ground almonds.  I also omitted the rum and used orange juice.
A Dundee Cake is basically a Christmas style fruitcake with the emphasis on oranges and almonds.  It is also traditionally decorated with blanched almonds on top of the cake and utilises marmalade in the cake batter.  It turns out be much lighter than traditional fruitcakes with a more crumbly texture.  It shouldn’t really contain glace cherries although I have seen some versions containing it online.
For my interpretation of the cake I wanted to really highlight the orange flavour and the almonds.  For your 500g of dried fruit you technically add what you like; sultanas, raisins, dried apricots, even prunes and dates.  But I stuck to golden sultanas and flaked almonds and made up my 500g with these ingredients only.   
For fruitcake I always soak the dried fruit in orange juice and just love the way they plump up over night.  Having absorbed all the liquid they’re like little squishy bursts of orange sweetness when you bite into them.  As well as the juice I added the zest to the batter as well which I felt made a difference.
Although the recipe specified to soak the dried fruit in 75mls of rum, I increased the amount of orange juice to about 100ml (which was how much came out of one orange – it was a particularly large orange).  All of this got absorbed overnight by the dried fruit so just before adding the fruit to the cake batter I added the juice of another orange (about 70-80ml).  Due to the large amount of flour in this recipe I took the chance that the extra liquid will be ok and it was.  You get a nice hit of orange with this cake.
This cake is a lovely light orange flavoured fruitcake that has a beautiful sturdy but soft texture and a surprisingly moreish flavour.

Dundee Cake adapted from Cakes (River Cottage Handbook)

·         500g golden sultanas and flaked almonds
·         170ml orange juice to soak the dried fruit in
·         zest of 2 oranges
·         250g unsalted butter, softened
·         250g light soft brown sugar
·         5 eggs
·         275g plain flour
·         100g spelt flour
·         1 ½ tsp baking powder
·         Pinch of sea salt
·         2 tbsp orange marmalade
·         75g whole blanched almonds

Soak the sultanas in 100ml of orange juice overnight so that all the liquid is absorbed.  When you come to make the cake, add in about 70ml more orange juice.

Preheat oven to 175C gas3, prepare a 9” round cake tin.  Combine the flours, baking powder and salt in a medium bowl.

In a large bowl, beat the butter and the sugar until light and creamy.  Add the eggs, adding 1 tbsp of the flour mix with each to prevent it from curdling.  Beat the egg thoroughly before adding the next one.

Fold in the flour mixture until fully incorporated.  Mix the marmalade into the dried fruit and fold this in along with the flaked almonds. 

Spoon the mixture into the prepared tin, spreading it out evenly with the back of the spoon.  Decorate the top with the blanched almonds placed in concentric circles (I find it easier to start from the middle and work my way out).

Bake in the oven for about 1 ½ hours until a skewer inserted in the centre comes out clean (my cake took 1 hour 40 minutes in total).  Check after 1 hour and, if the surface is getting too brown, lay a foil cap over the top.  Leave to cool in the tin before removing.